
Creating a dashboard
Every dashboard starts from the same short form. Only the name is required; the rest can be changed later from ⋮ → Settings.
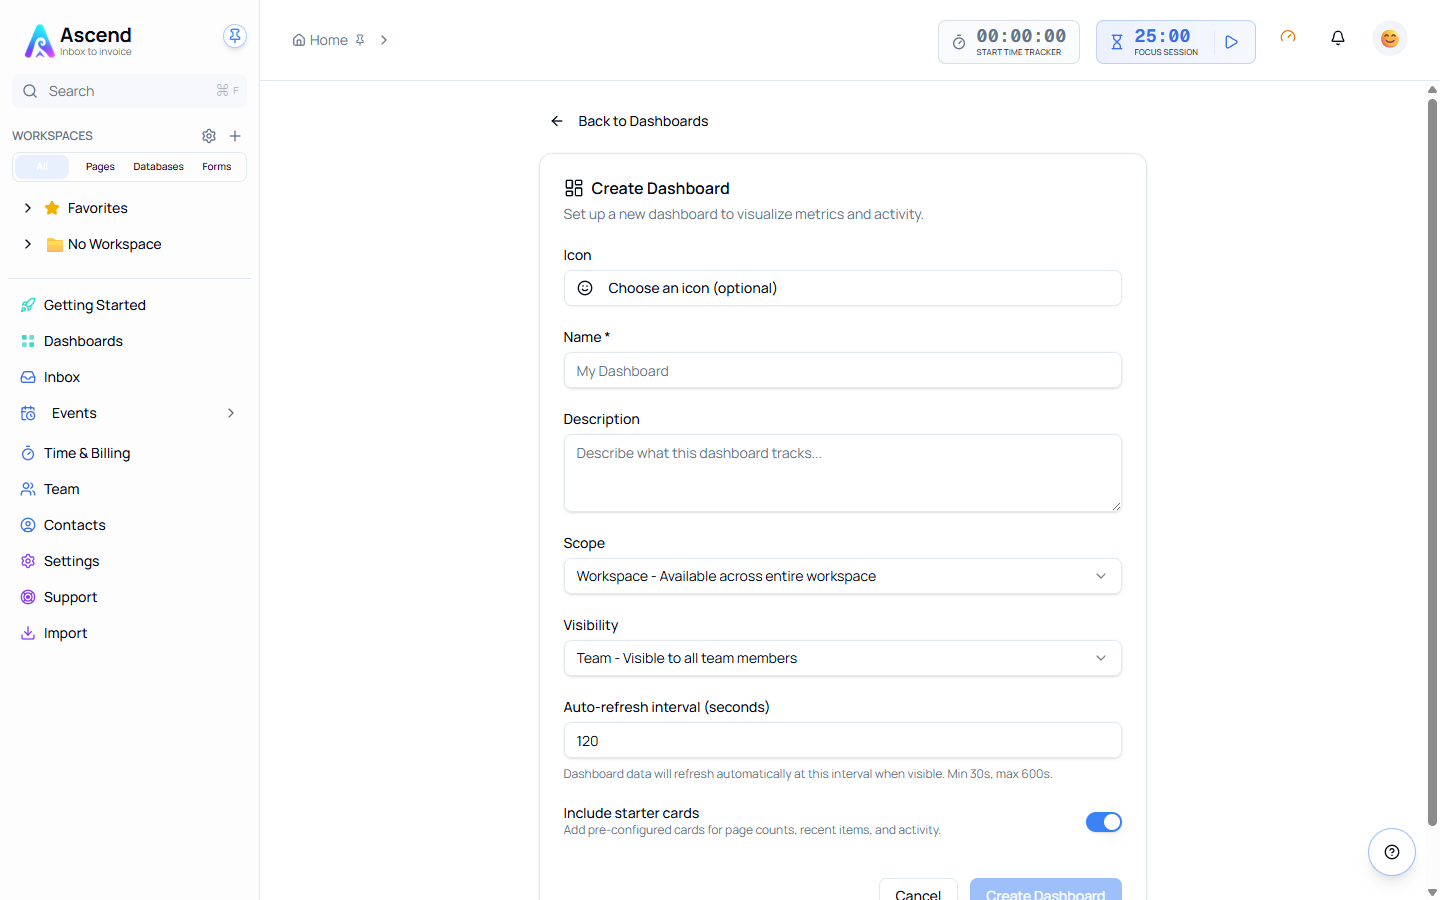
The form
Go to Dashboards → New Dashboard.
| Field | What it controls |
|---|---|
| Icon | Optional. Shown next to the name in the list and the sidebar |
| Name | Required |
| Description | Optional note about what the dashboard tracks |
| Scope | Workspace — available across the workspace. Page — bound to one page you pick |
| Visibility | Team — visible to all team members. Private — only visible to you |
| Auto-refresh interval | Seconds between automatic refreshes while the dashboard is on screen. Minimum 30, maximum 600 |
| Include starter cards | Adds pre-configured cards for page counts, recent items and activity so the dashboard is not empty on first open |
Leave starter cards on the first time
An empty dashboard gives you nothing to react to. The starter set shows what a working dashboard looks like, and any card you do not want takes one click to remove.
Scope
Workspace scope is the normal choice. The dashboard sits in the Dashboards list and reads across everything you can see.
Page scope binds the dashboard to a specific page. Use it when the numbers only make sense next to that page — a project page with its own progress dashboard, for example.
Visibility
Visibility decides who can open the dashboard. It is separate from favouriting, which only decides whether it appears in your sidebar.
Private dashboards stay private even on a team plan. Nobody else sees them in the list.
Changing it later
Open the dashboard and use ⋮ → Settings to change the name, description, scope, visibility or refresh interval. Rename in the toolbar is the shortcut for the name alone.
⋮ → Duplicate copies the dashboard and all of its cards, which is the fastest way to make a per-client variant of a layout that already works.
Related