
Contacts Guide
The Contacts feature acts as your address book, letting you manage people and organizations and link them to your work in Optivation.
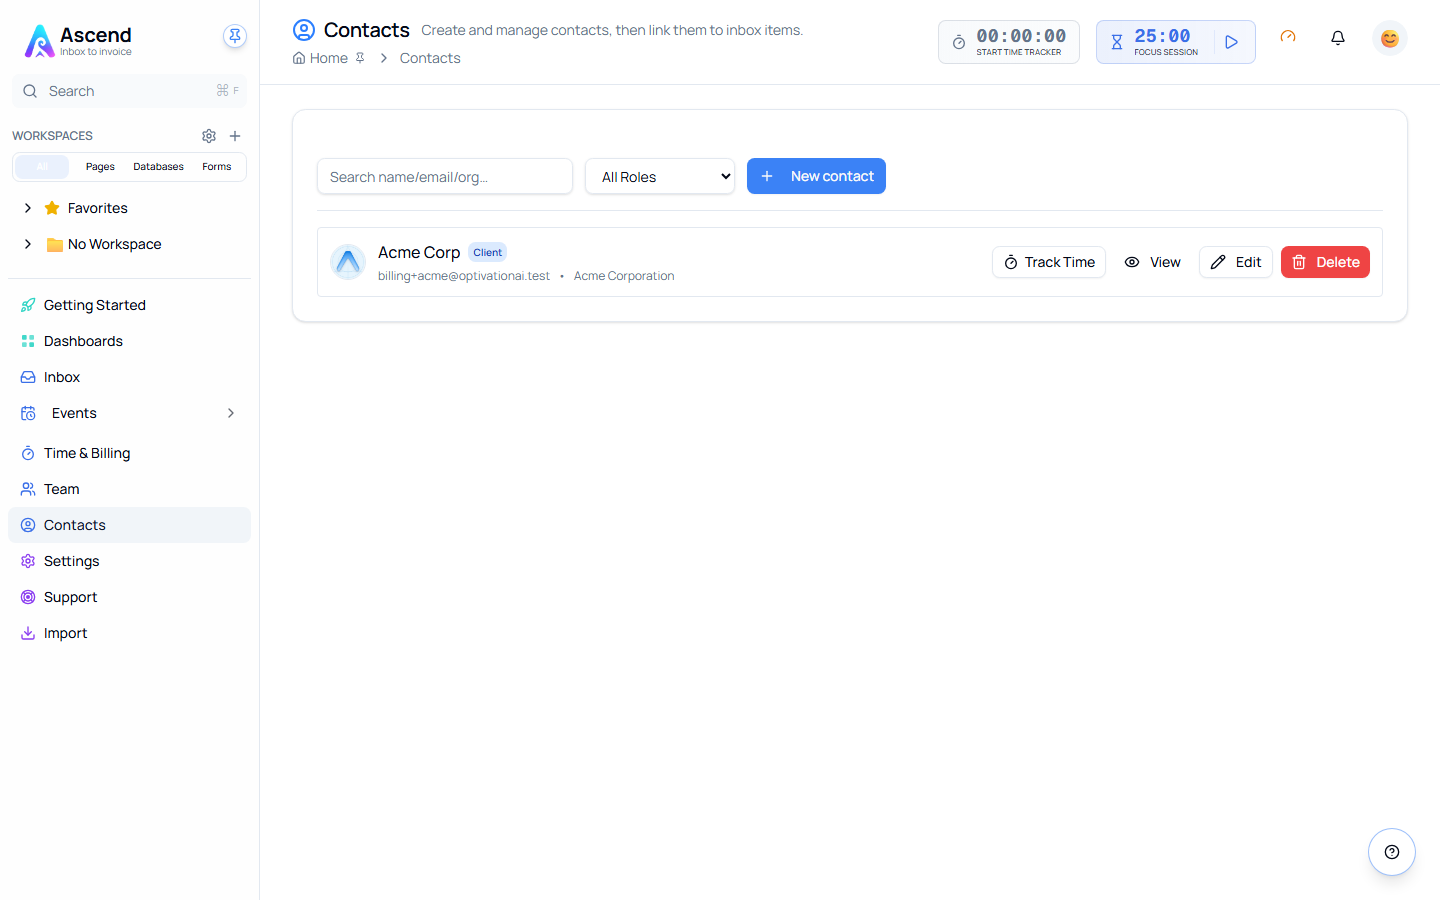
1. Managing Contacts
Creating a Contact
Click Contacts in the sidebar.
Click New Contact.
Fill in details:
Left Column:
- Organization — Company or business name
- Primary Email (required, must be unique)
- Relationship Roles — Tag the contact as Client, Vendor, Team Member, etc.
- Notes — Any additional information
Right Column:
- Contact Name — The individual's name
- Job Title — Their role at the organization
- Phone
- Client Code — Short code used in invoice numbering (e.g.,
ACME,LC). Auto-converts to uppercase, max 20 characters. - Address — Billing address (used on invoices)
Click Create.
Editing & Deleting
- Edit: Click the pencil icon on a contact card or row. (Note: Primary email cannot be changed after creation).
- Delete: Remove a contact permanently.
2. Linking Contacts
Contacts become powerful when linked to your work.
Link to Inbox Items
When viewing an email or event:
- Go to the Contacts section.
- Search for a person.
- Click Link.
- This helps you track all communications related to a specific person.
Link to Pages & Databases
Using the Person property in databases or mentions in pages, you can reference your contacts directly in your workflow.
3. Organizing Contacts
- Search: Find contacts by name, email, or company.
- Tags: (Coming soon) Group contacts by custom tags like "Client", "Vendor", or "Team".
Related:
- Inbox – Linking contacts to emails.